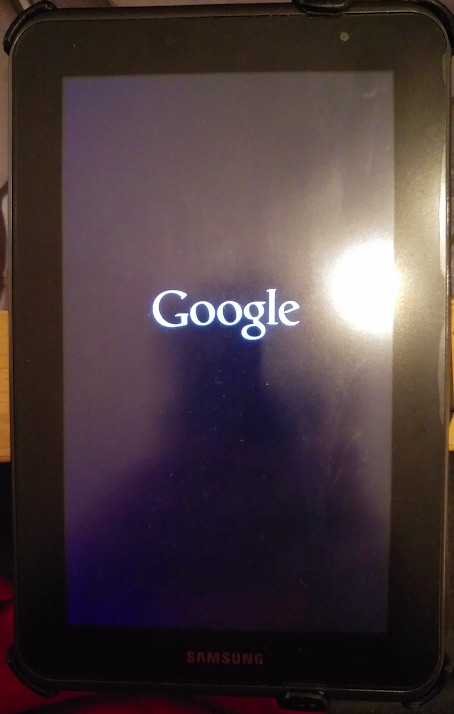
Modify Samsung Galaxy Tab 2 Boot Logo
Inital tutorial by Ketut P. Kumajaya, slight updated (also made the extract-script work again).
1. Over Terminal Emulator or "adb shell", dump your original param.lfs (/dev/block/mmcblk0p4)
su

cat /dev/block/mmcblk0p4 > /sdcard/mmcblk0p4.lfs
2. Copy your param.lfs (mmcblk0p4.lfs) to your PC or pull it from your device over adb
adb pull /sdcard/mmcblk0p4.lfs3. Unpack param-tools-new.zip on your Linux computer or Cygwin environment for Windows user (untested)
unzip param-tools-new.zip4. Copy your param.lfs to param-tools folder and then create a working folder for manipulate boot logo
cd param-tools

mkdir work

cd work
5. Extract all jpg files from param.lfs
../extract-jpg.sh ../mmcblk0p4.lfs6. Create your own boot logo (or use the examples from Ketut Kumajaya), the size no larger than the official jpg-files!
7. Save the original boot logo
8. Replace the original boot logo with your own boot logo
9. Inject your modification back to param.lfs and save it as param-new.lfs
../inject-jpg.sh ../mmcblk0p4.lfs ../mmcblk0p4-new.lfs10. Confirm your new param.lfs by extracting it (same like on Step 5, only the filename changed), check the resulted image
../extract-jpg.sh ../mmcblk0p4-new.lfs11. Copy the new param.lfs to your P31xx/P51xx sdcard or push it to your device via adb
adb push mmcblk0p4-new.lfs /sdcard/mmcblk0p4-new.lfs12. Over Terminal Emulator or "adb shell", copy your new param.lfs to /dev/block/mmcblk0p4. Reboot to recovery once after that.
su

cat /sdcard/mmcblk0p4-new.lfs > /dev/block/mmcblk0p4

reboot recovery13. Done! Enjoy your new bootlogo!
arrow_back Back to FAQ